Your first script
From Goodblox Wiki
(Redirected from Script Creation Walkthrough)
Introduction
This tutorial is for complete beginners. The idea is to create an elementary script from which you can build scripting knowledge. It assumes you know nothing about scripting.
What this tutorial will teach you
- What the print() function does
- How to run a script
Setup
You will need to open GoodBlox Studio. Once you have done that, you will need to click "My GoodBlox", select your map, and click "Edit". At this point, you should see your familiar map.
You will need some essentials in GoodBlox Studio to make this work:
- The Output window:
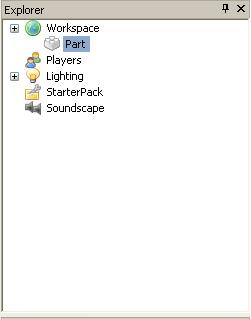
- The Explorer window:
- The Command bar:
- To make sure you have the Output window, click View / Output.
- To make sure you have the Explorer window visible, click View / Explorer.
- To make sure you have the Command bar visible, click View / Toolbars / Command.
Let's start scripting
Now that you have what you need, click the "Workspace" icon in the Explorer window (it looks like a small globe).
- Click Insert > Object > Script.
- Click OK
- Double-click the newly created script file in "Workspace".
- You should see print("Hello World!")
- We're going to see what that does. Click on the "x" of the Script window, and then press the "Play"
button.
- In your Output window, you should see, "Hello world!".
- Now click the pink rewind
button.
- Double-click the script file again to edit it.
- Let's change the words to say something else. Change it to say, print("Hello Mom!")
- Press the play button.
- The Output window should say "Hello Mom!"
- That was easy. Let's try something harder. Rewind again, and change the script to say: print("2+2")
- The output is going to be: 2+2. That's because it's printing out exactly what was in the quotes.
- Rewind again, but without the quotes... i.e., print(2+2)
- Your output window is going to be: 4
- This is because the program calculated the result of 2+2, which is 4.
See Also
If you're looking for something similar or closely related to this article, see these:

