How do I publish models?
Introduction
If you've opened up GoodBlox Studio before, you might have noticed this peculiar Insert button here.
You click it out of curiosity and this tall panel on the right suddenly appears!
This is called the Toolbox. The Toolbox shows you models that other people from the GoodBlox Community have uploaded and made available for anyone to use in their place and gives you the option to insert the item at ease, allowing for a wide world of collaboration!
If you want to provide your creations to the GoodBlox Community to help out someone who might come across your model when building a place, then this will give you all you need to know about doing so.
Getting Started
First thing you will want to do is open GoodBlox Studio. I would hope that you would already know how to, but if you dont the GoodBlox Studio page should get you up and running.
Before you do anything else, you will have to log into your account within Studio. So once Studio has opened, log into your account as you normally would.
Now, If you want to create a fresh new model, then just create a blank map file by going to File -> New, or hitting the keyboard shortcut Ctrl+N
You don't have to make your own models though, you can just upload models from already existing maps which you can do by going to File -> Open or hitting the keyboard shortcut Ctrl+O and selecting the map you want to open.
Building the Model
First off you'll want to insert some parts, of which you can find out how to do by going here.
Then just form your model how you want it to be using the tools available at the top.
Once you're done with that, go to the Explorer on the right-hand side and select all the parts you want to include in the model by doing Ctrl+Click. Then right-click and click 'Group'
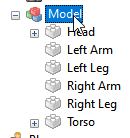
A model should form with everything you've selected inside.
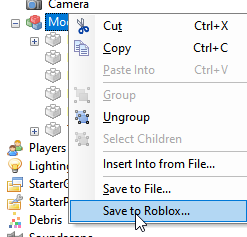
Now you just right-click on the Model and select "Save to Roblox"
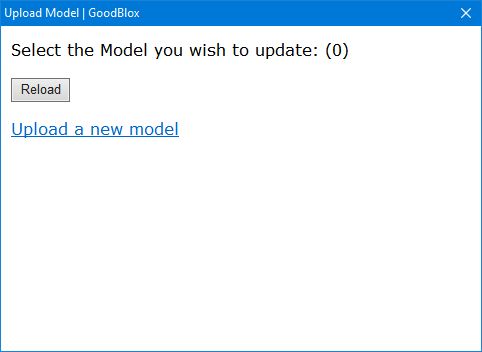
This dialog box should pop up here, and it's rather self-explanatory. If you want to update a model you've already published, then you can do so by selecting it. If you want to create a new model, then you click the blue link down below.
But me being a first timer here as I'm sure you are too, there are no models to update, and we want to create a new model. So just click the Upload a new model link. And you're done!
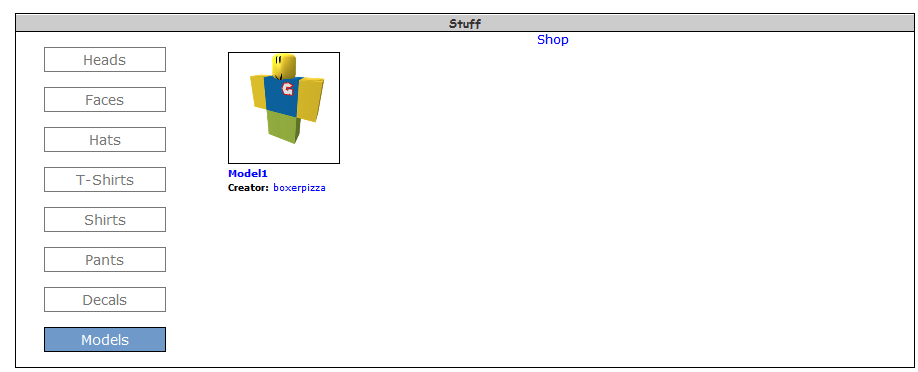
If you want to customize the model though (name the model, set a description, etc) then head over to My GoodBlox, scroll down to your Stuff and select Models. You should see your model there, and customize it!


